
Currency

Many girls think that going to a nail salon for a manicure is too expensive and not worthwhile, so today, we bring you a nail art tutorial suitable for beginners. If you want to do manicures at home, read on.
Use a nail clipper to trim your nails into your favorite type, and then use premium mini disposable nail files to repair the uneven areas around your nails.
Remove the dead skin around the nail, first push the dead skin on the nail surface from the outside to the inside with a steel push, and then cut off the dead skin with dead skin scissors.
Use dead skin pliers to trim the barbs around the nail.
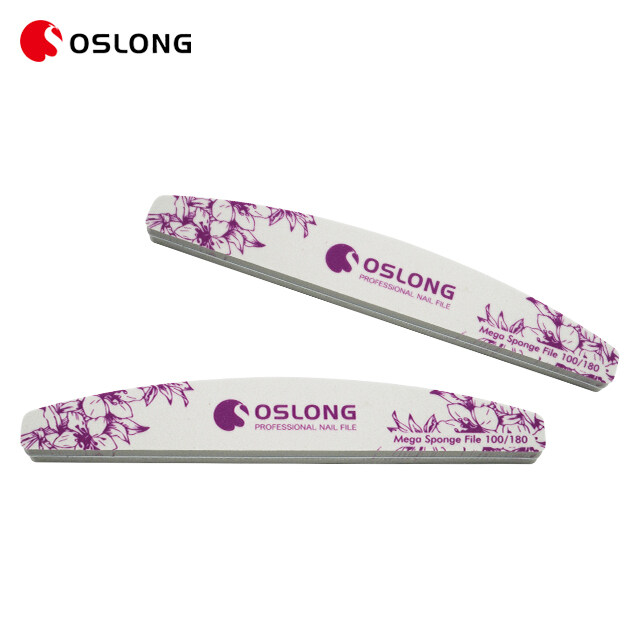
Polish the nail surface with a Disposable sponge file. When polishing, the trailing edge and front section of the nail shall be polished neatly. If the nail surface is not smooth, the nail polish is easy to fall off.
After polishing the nail surface, clean the sealing layer just polished with a dust brush.
Apply evenly. Shine the phototherapy light for 1 minute (LED light for 30 seconds). The main function is to increase the combination of nail and nail polish and make the nail polish more lasting.
The first coat of nail polish glue must be thin and uniform, adhere to the principle of small amount and multiple times and shine on the phototherapy lamp for 2 minutes (LED lamp for 1 minute).
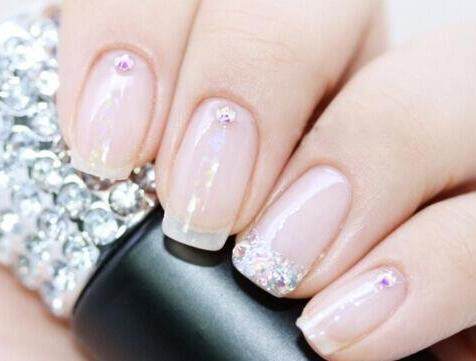
Many nail enhancements are so beautiful because they are decorated with Professional best nail drill 2020, shells, and cellophane, or some are painted with patterns. This step needs technology. If you are still a novice, it is recommended to start with solid color nail enhancement.
Apply the first seal coat and illuminate the phototherapy lamp for 1 minute (LED lamp for 30 seconds);
Apply the second seal coat and shine the phototherapy lamp for 2 minutes (LED lamp for 1 minute).
Clean the surface with a cleaning solution after the sealing layer has been illuminated for 2 minutes.
In this way, the nail enhancement is completed. Note that the nail polish glue is slightly different and the lighting time is also slightly different.
The wrinkle and unevenness of nail polish glue are usually caused by too thick a coating. When applying nail polish glue, it should be applied thinly to avoid wrinkling, and the color will be more uniform at the same time. In addition, pay attention to whether the phototherapy lamp works normally. If the phototherapy lamp is abnormal, the nail polish glue will not dry or the light is uneven, and wrinkles will also appear.
Cracking is usually due to the poor toughness of the glue. Products with brittle texture and insufficient toughness are prone to cracks. The nail itself is thin and soft. The hardness of nail polish is harder than that of the nail surface, and it is also prone to cracking.
Glue shrinkage is usually caused by grease on the nail surface. Too smooth nail surface may also cause glue shrinkage. Therefore, many people will encounter glue shrinkage when applying the second sealing layer, because the nail surface after the first application of the wash-free sealing layer is too smooth.
Searching for a manicure tools supplier, wholesaler, manufacturer from China, you can get high-quality products at a nice price.
รูปแบบอีเมลผิดพลาด
emailCannotEmpty
emailDoesExist
pwdLetterLimtTip
inconsistentPwd
pwdLetterLimtTip
inconsistentPwd
